Our Colours
View all colours
Get inspired by our colours
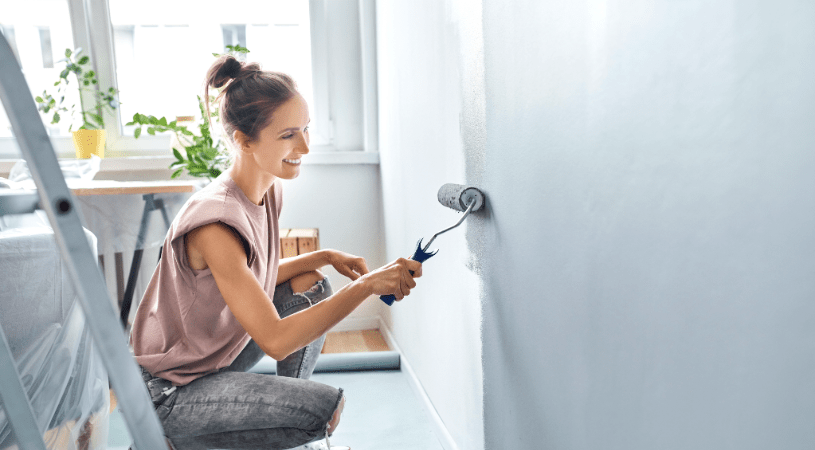
It’s a great opportunity to breathe new life into rooms that are looking a bit tired, and honestly, it’s not a bad way to spend a couple of weekends!
But as many DIY enthusiasts know, optimism can quickly turn into frustration if you don’t have the right tools. What you planned to be a quick, seamless job can become messy. The painting takes longer, the finish may not be what you wanted, and there is a higher margin for error.
It may be obvious but the most important tool you need to get right is your paint roller. Here, we’ll give you the low-down on how to find the best roller to get the job done right – the first time.
Any DIY paint job will require both brushes and rollers. Generally, brushes are better for smaller, more detailed parts of the house, while rollers should be used for larger areas. The best roller is one that can meet the needs of your DIY paint project. The right one can save you a lot of time and effort and deliver a more professional result.
But look beyond just picking the priciest roller at the hardware store. To help you decide which roller is best for the job, have a think about the following questions:
What paint do you want to use (water-based, oil-based, full, semi-gloss enamel, etc.)?
What surface are you painting on and what finish do you want (smooth or textured)?
How much painting needs to be done (a wall, room, or the entire house)?
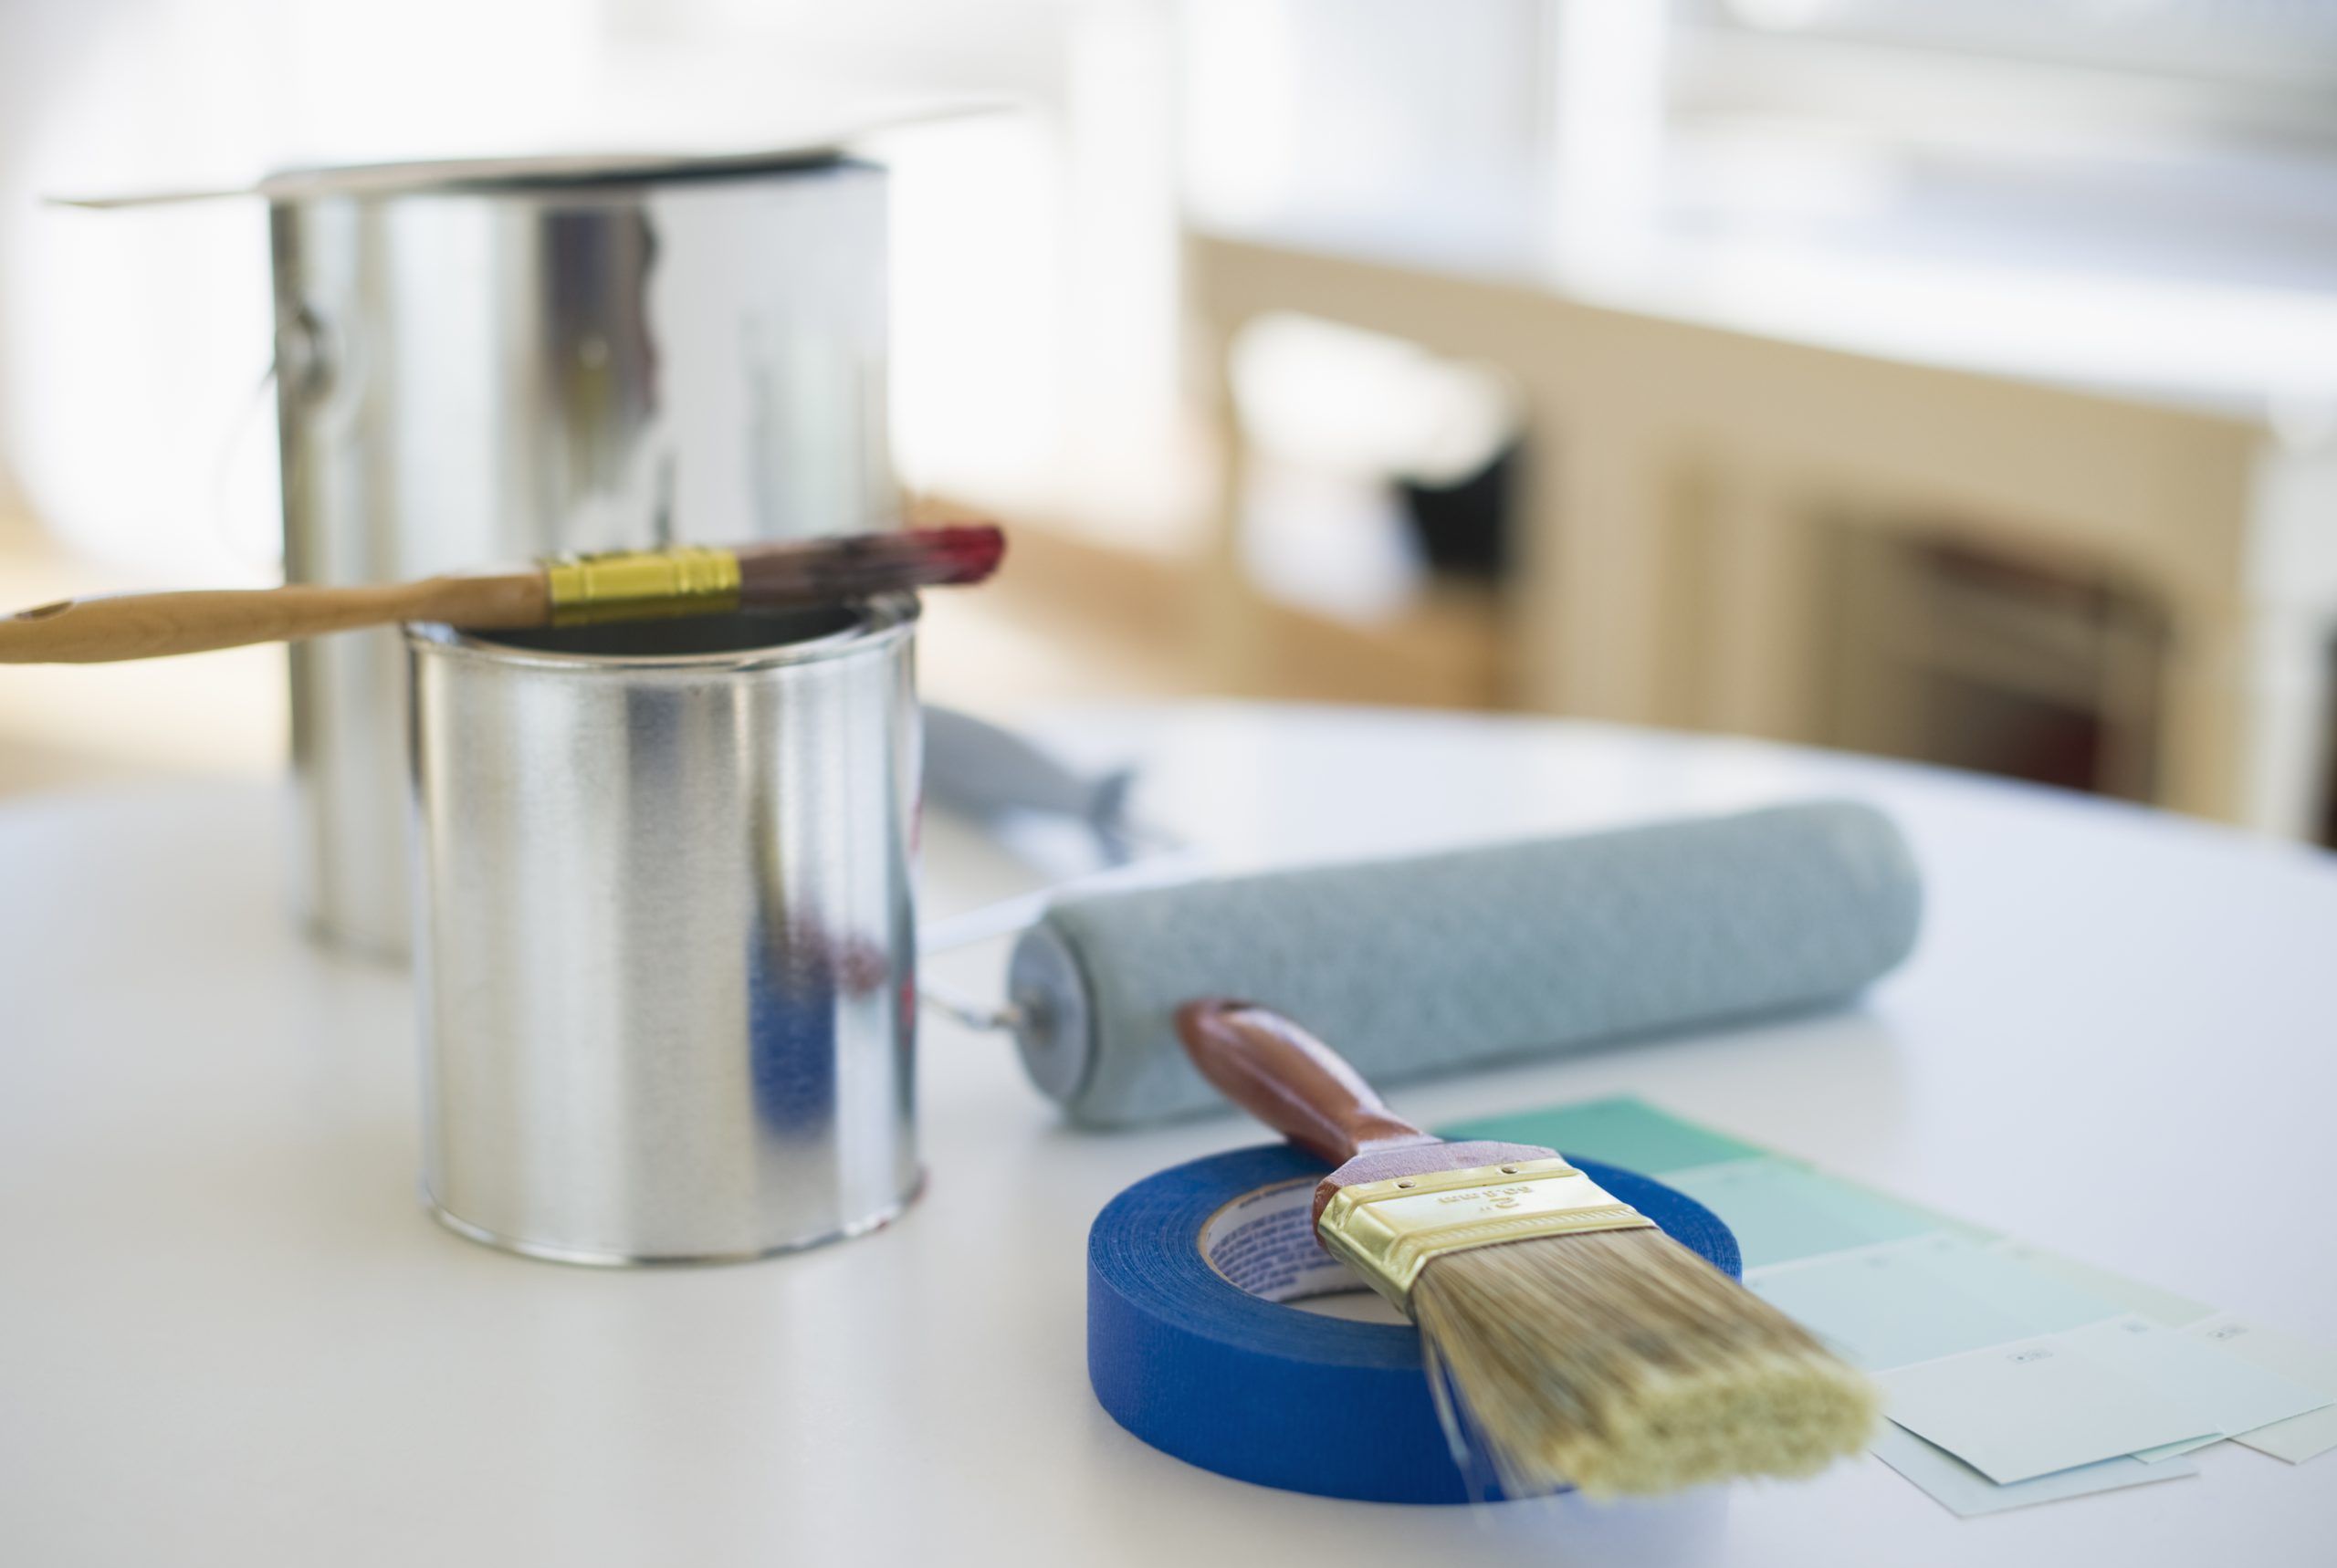
A roller’s nap is the thickness of its woven cover. The surface you’re painting on determines the length you need. The longer the nap, the more paint it will hold which is best for rougher textures. The shorter the nap, the less paint it will hold, resulting in a thinner coat. This is better for smooth surfaces.
Paint rollers usually come in four nap sizes:
5mm: The thinnest of nap lengths, these are best for painting doors, cupboards, and furniture
9mm: These are suitable for water-based paint and work best for feature walls or if you need a very smooth finish.
12mm: This is your general, all-purpose size and is suitable for most walls and ceilings
20mm: These are mainly for rough surfaces such as bricks or textured walls because of the large amount of paint they hold, which can get into every nook and cranny
Need to brush up on your paint roller skills? Here are a few tips:
1. Prepare the surface
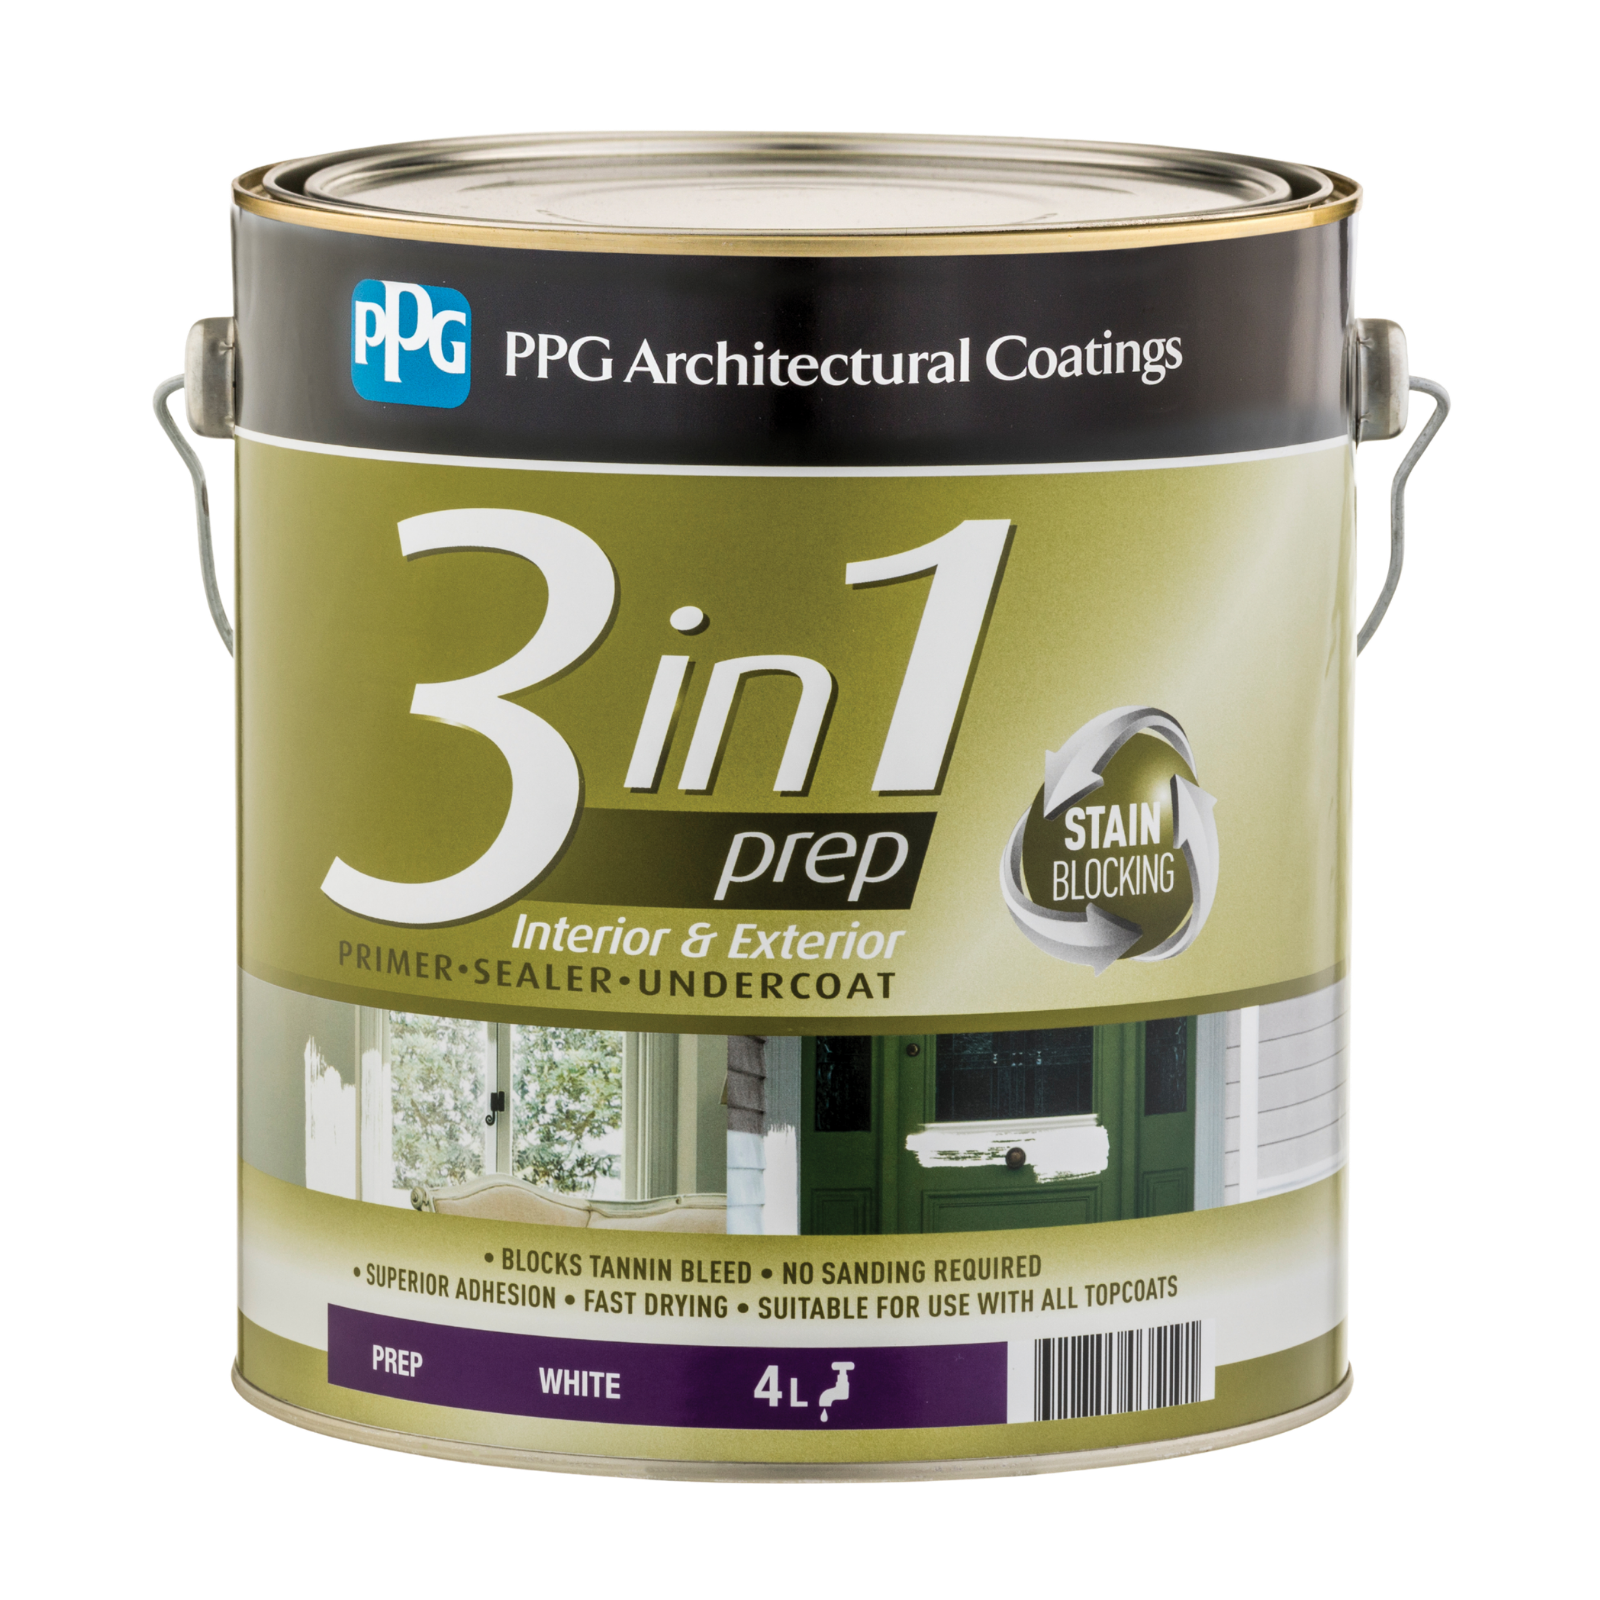
Get rid of old paint, fill any gaps or cracks, and apply a primer such as PPG Paints White 3 in 1 Interior and Exterior Primer Undercoat Sealer to make sure the surface is clean, dry, and free of dust. This will help the paint stick and deliver a better finish.
2. Load the paint
When dipping the roller into the tray, roll it back and forth until it is evenly coated in paint. The trick is to avoid overloading to prevent drips and uneven coverage.
3. Start from the top and work in a ‘W’ pattern
It’s best to start painting from a top corner creating a W shape with your strokes. Then, depending on the surface, you can fill gaps by moving the roller vertically or horizontally.
4. Make sure your strokes intersect
For the smoothest coverage, overlap your strokes by around half the width of the roller cover. Keeping your edges wet prevents the painted area from drying which helps to blend the paint and prevent visible lines.
5. Use a light pressure
Avoid using a heavy hand when applying paint with a roller. An even, light pressure is best.
6. Give your back a break
When it comes to painting ceilings and high places, use a painting roller extension pole. This can be safer and less effort than using a normal roller and a ladder.