Our Colours
View all colours
Get inspired by our colours
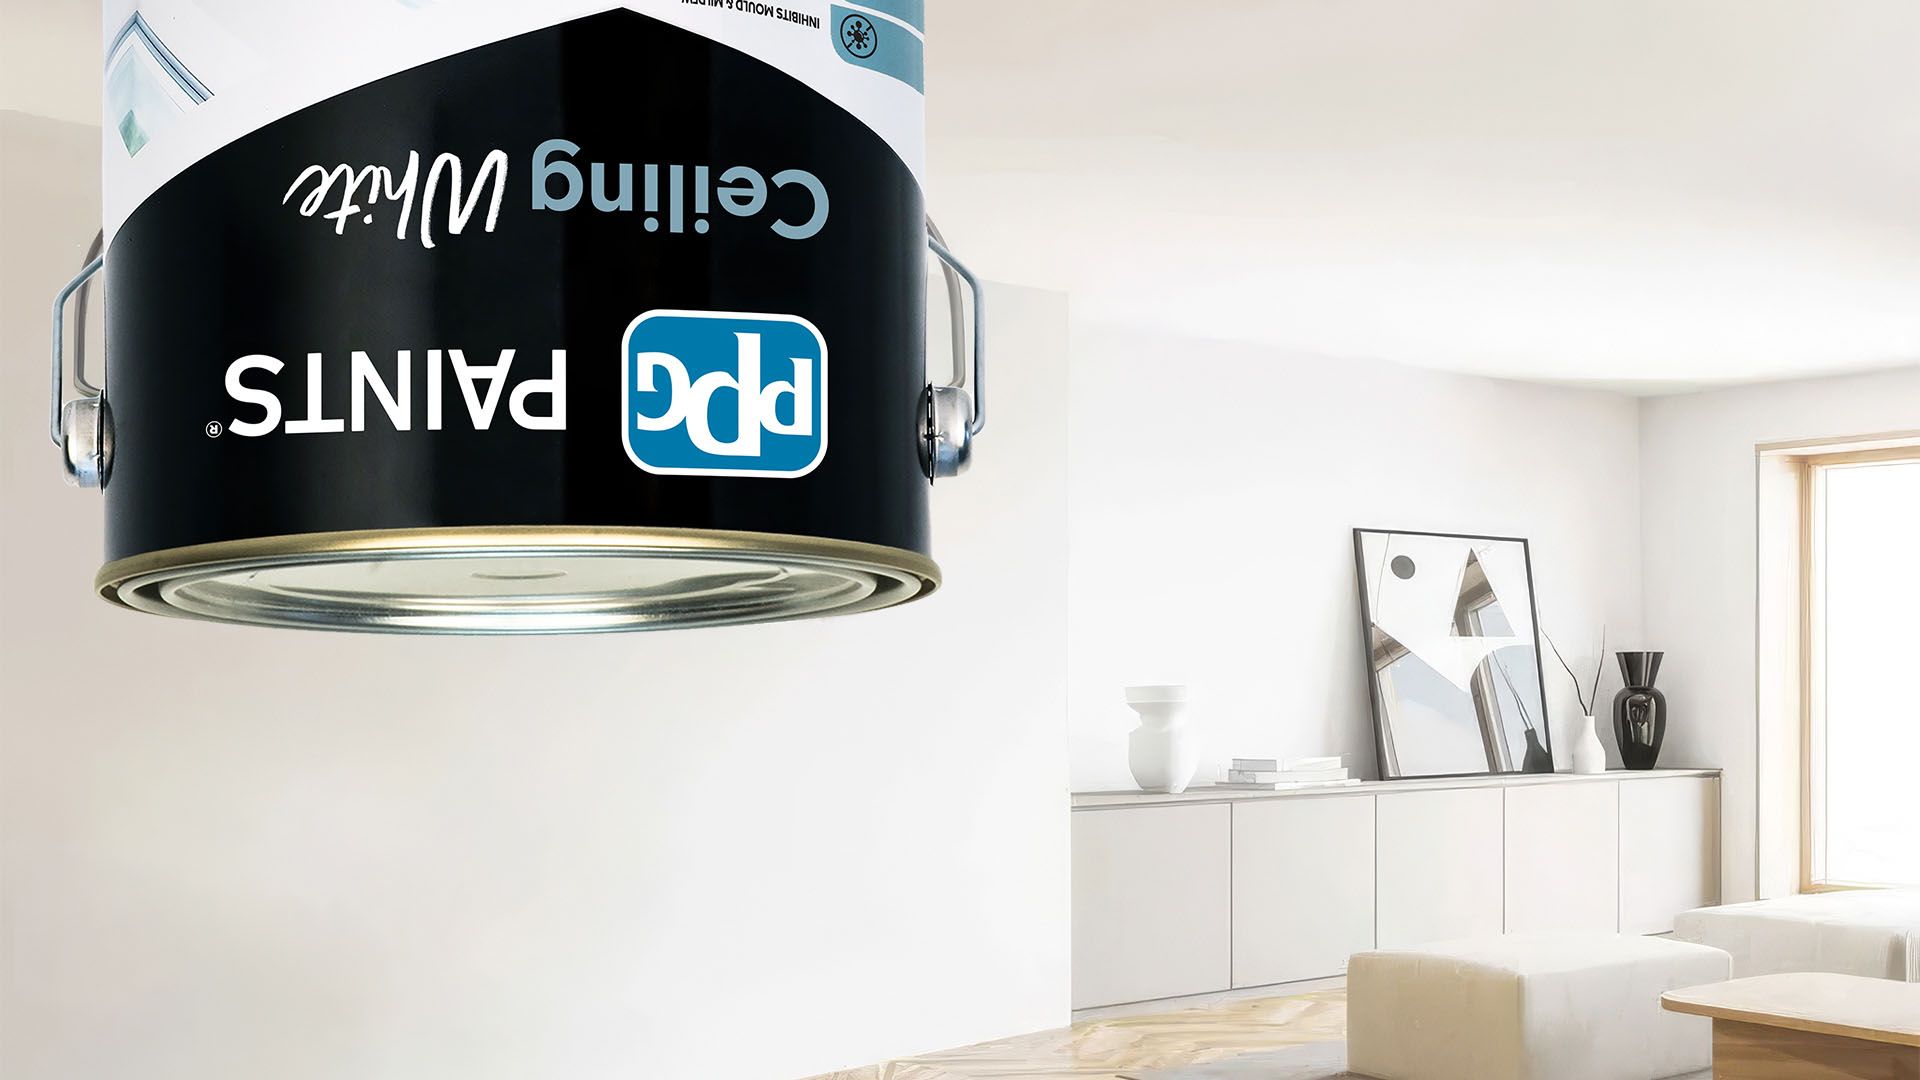
Revamping your ceiling doesn't have to be a daunting task. In fact, it can significantly enhance the ambiance of your home with minimal effort. With the right preparation and paint, it’s a straightforward DIY project that delivers a big impact. Follow the steps below to get a smooth, professional finish on your ceiling.
Preparation helps you avoid mess and ensures the paint goes on evenly.
Move furniture out of the way where possible. If not, cover everything with drop sheets and tape them to the skirting boards.
Tape along the tops of walls and around light fittings to protect them. Remove light fixtures if it’s safe to do so.
Remove any dust or grime from the ceiling and repair any cracks or holes with caulk or filler. Don’t forget to wipe down any dust after sanding.
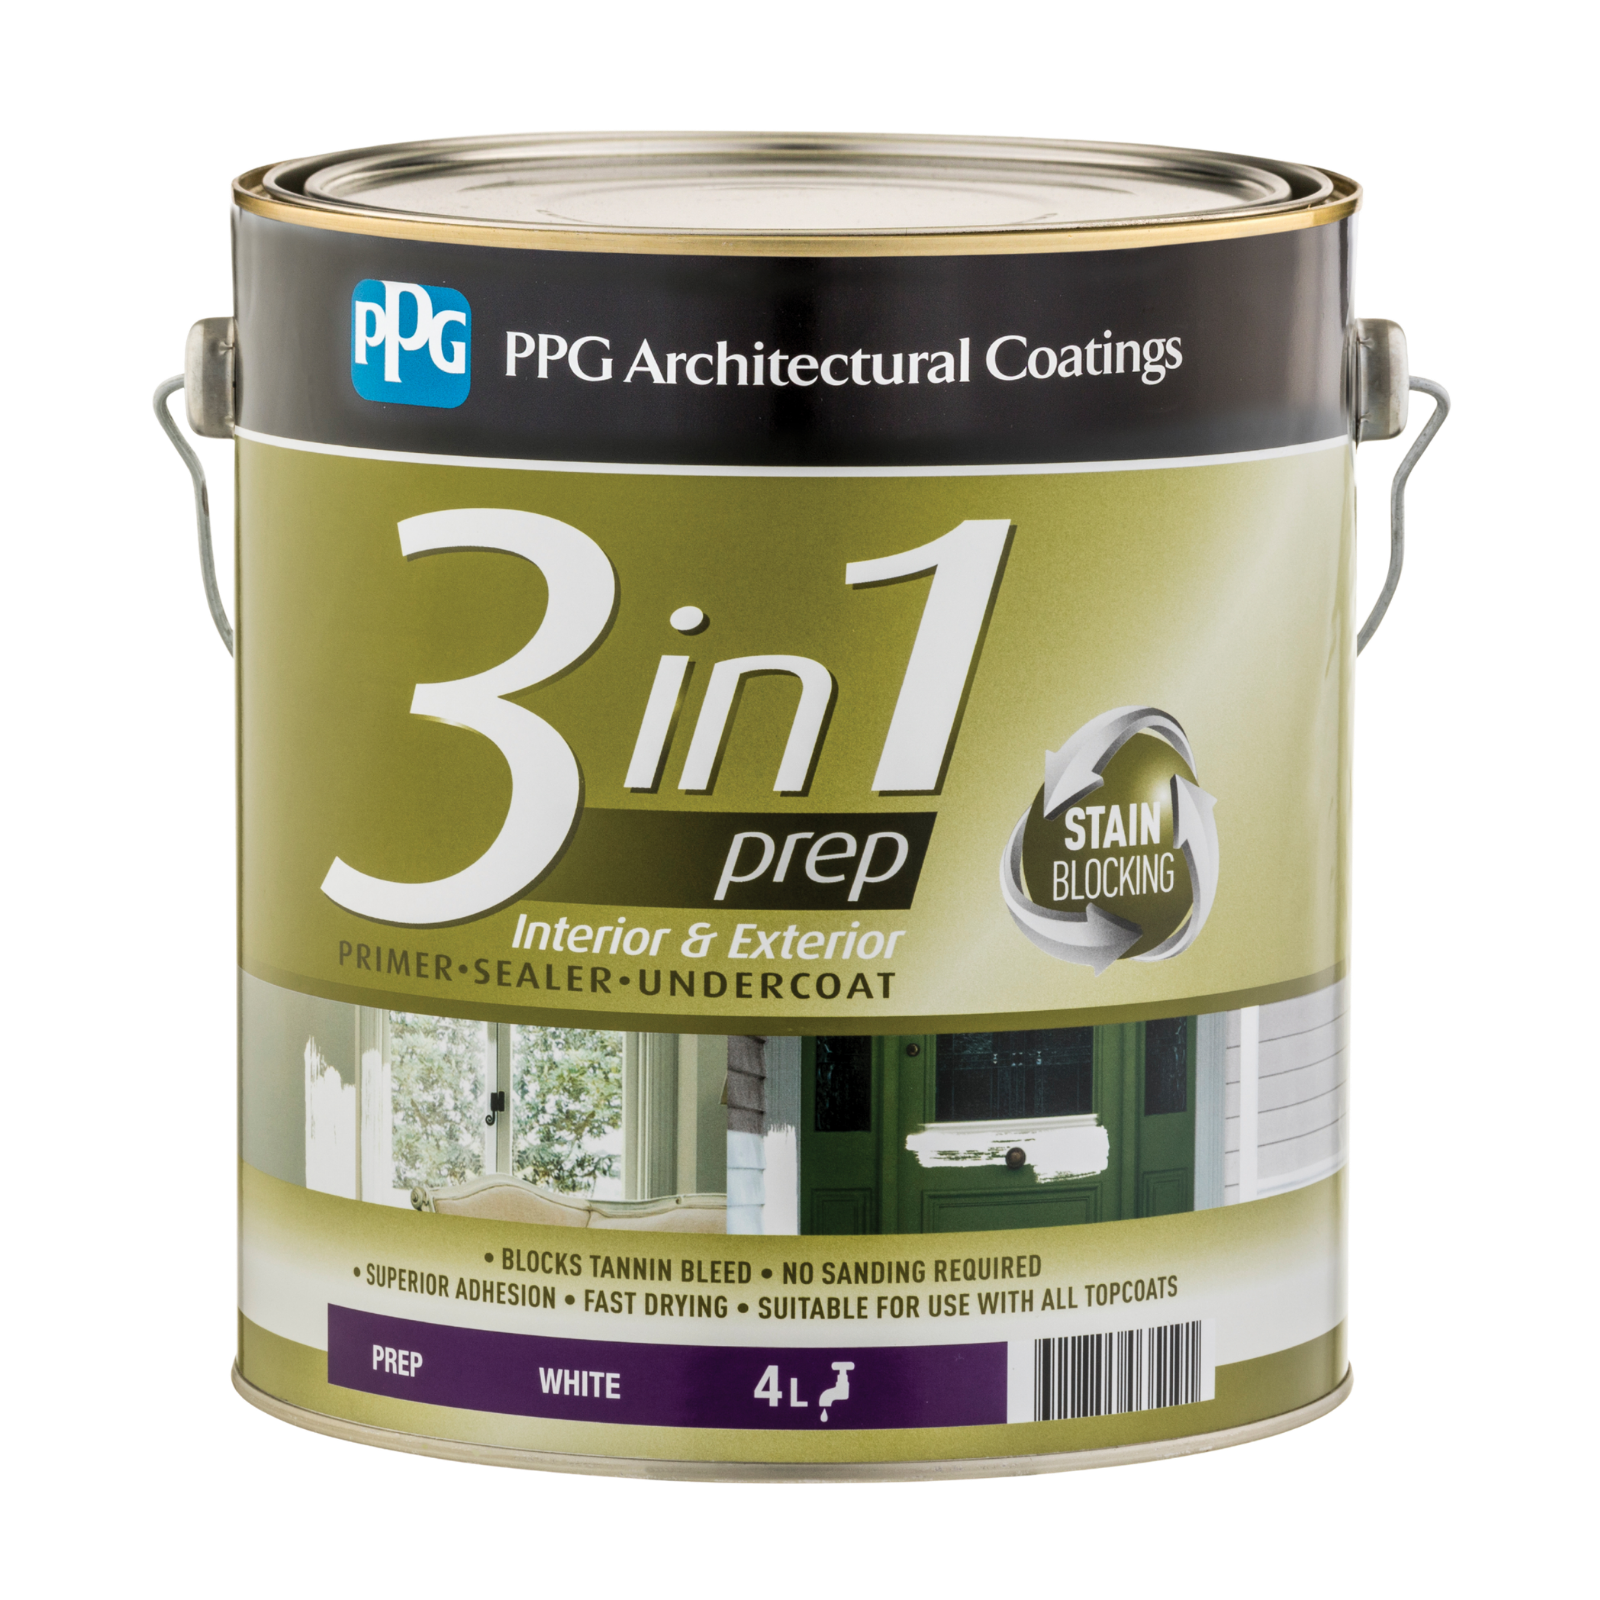
Treat any mould with Flood Mould Action or bleach and overcoat any remaining stains with PPG Paints 3 in 1. Refer to back of pack for use.
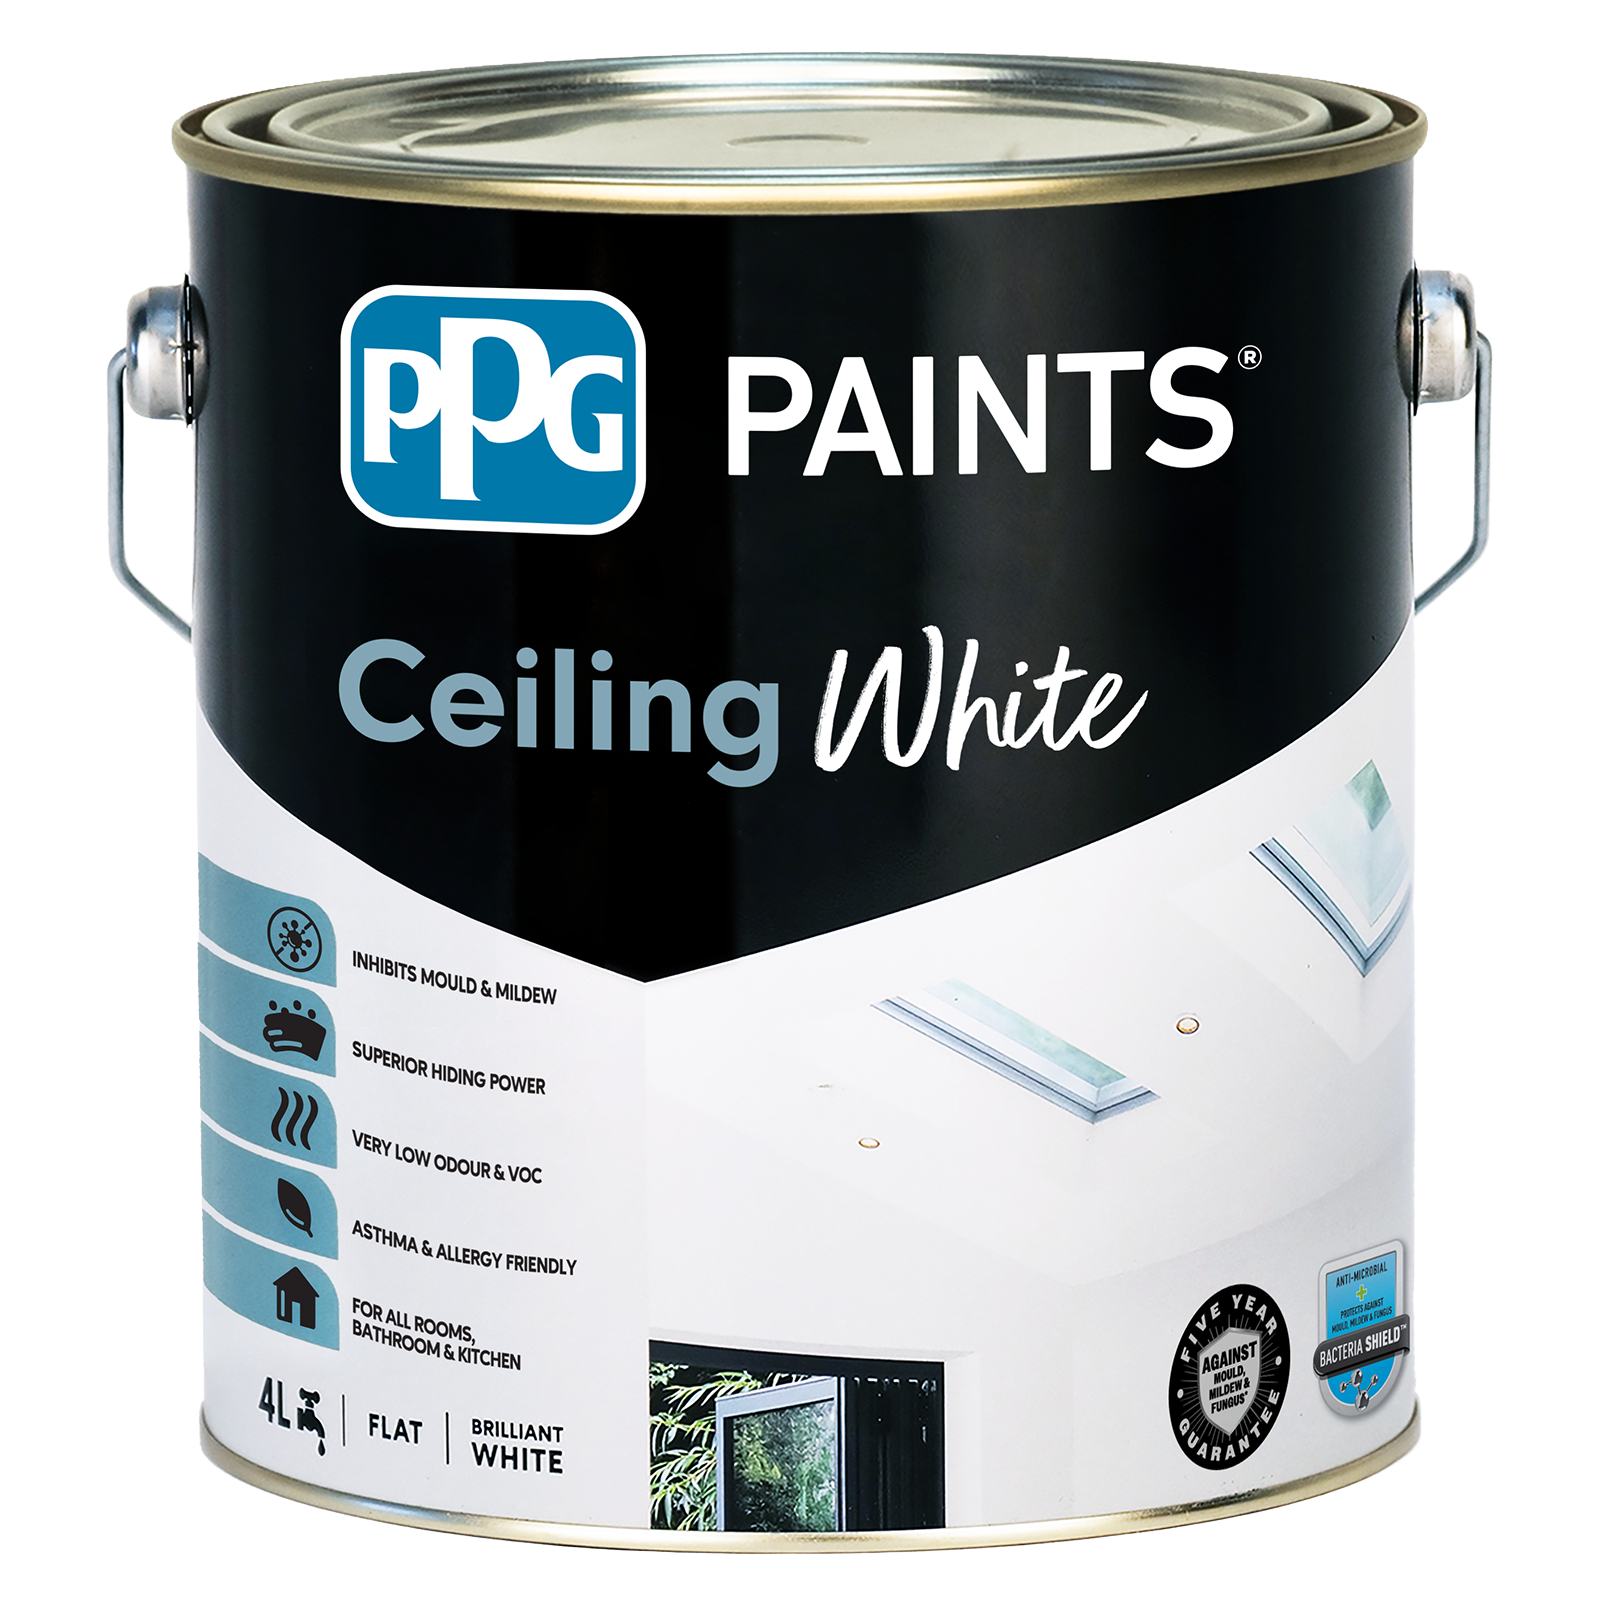
The right paint is key to getting a great finish. PPG Paints Ceiling White is pre-tinted to the perfect ceiling shade so there’s no mixing or guesswork. It’s formulated to resist spatter, giving you a cleaner job with less mess and provides a smooth, even finish designed specifically for ceilings.
You’ll also need:
230mm Walls & Ceilings Painting Kit – includes brushes, roller and tray
Drop sheet
Painter’s tape
Stir your paint thoroughly and pour it into the tray.
Use a brush to carefully cut in around the edges, cornices, and light fittings.

Load the roller evenly and apply paint in 1m² sections.
Work steadily, keeping a wet edge so the paint blends without visible lines.
Once the first coat is dry, repeat the cutting in and rolling process for the second coat.
A freshly painted ceiling instantly brightens your room and makes the whole space feel renewed. With two coats of PPG Paints Ceiling White and the right preparation, you’ll have a crisp, clean finish that lasts.